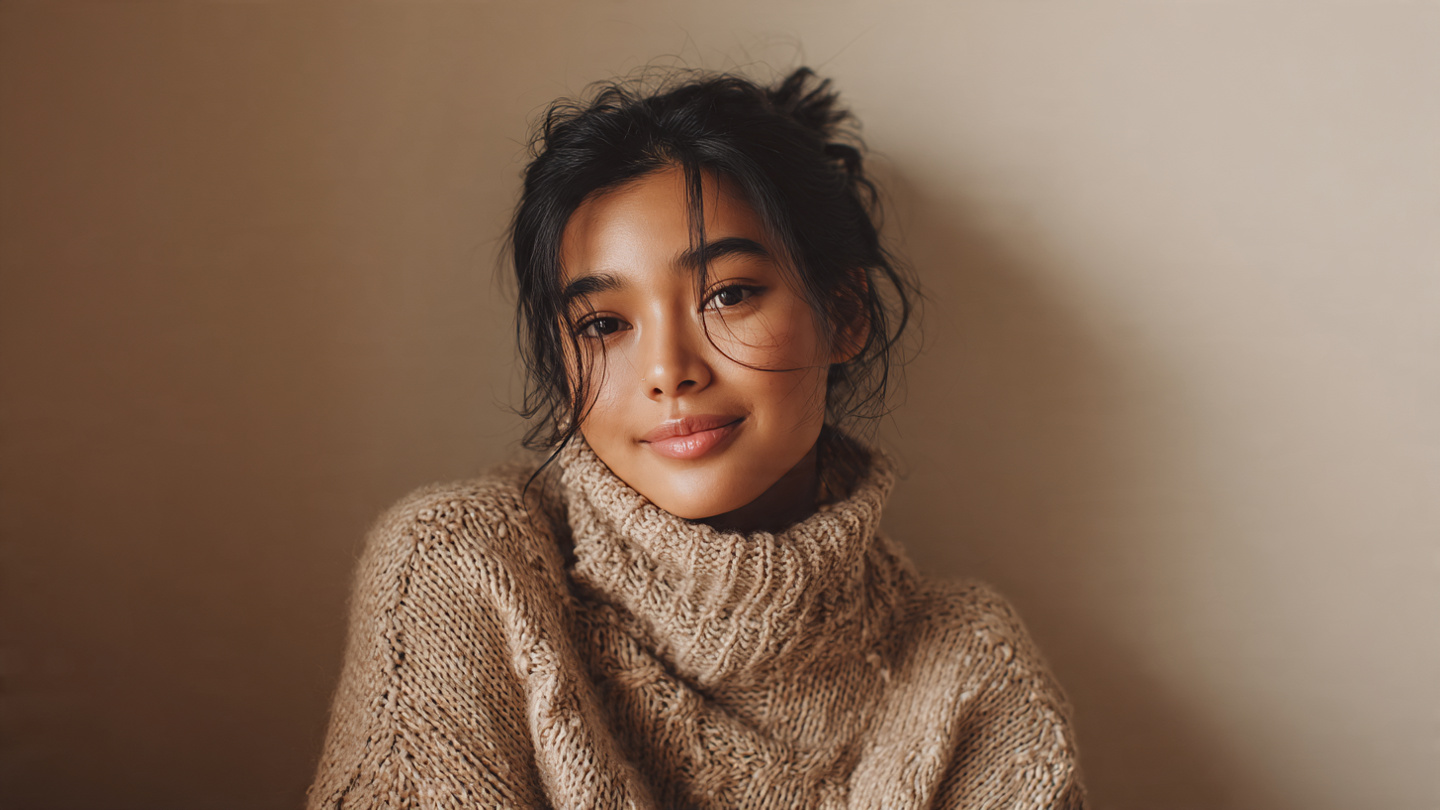
12 Hairstyles for School Cute & Easy Ideas

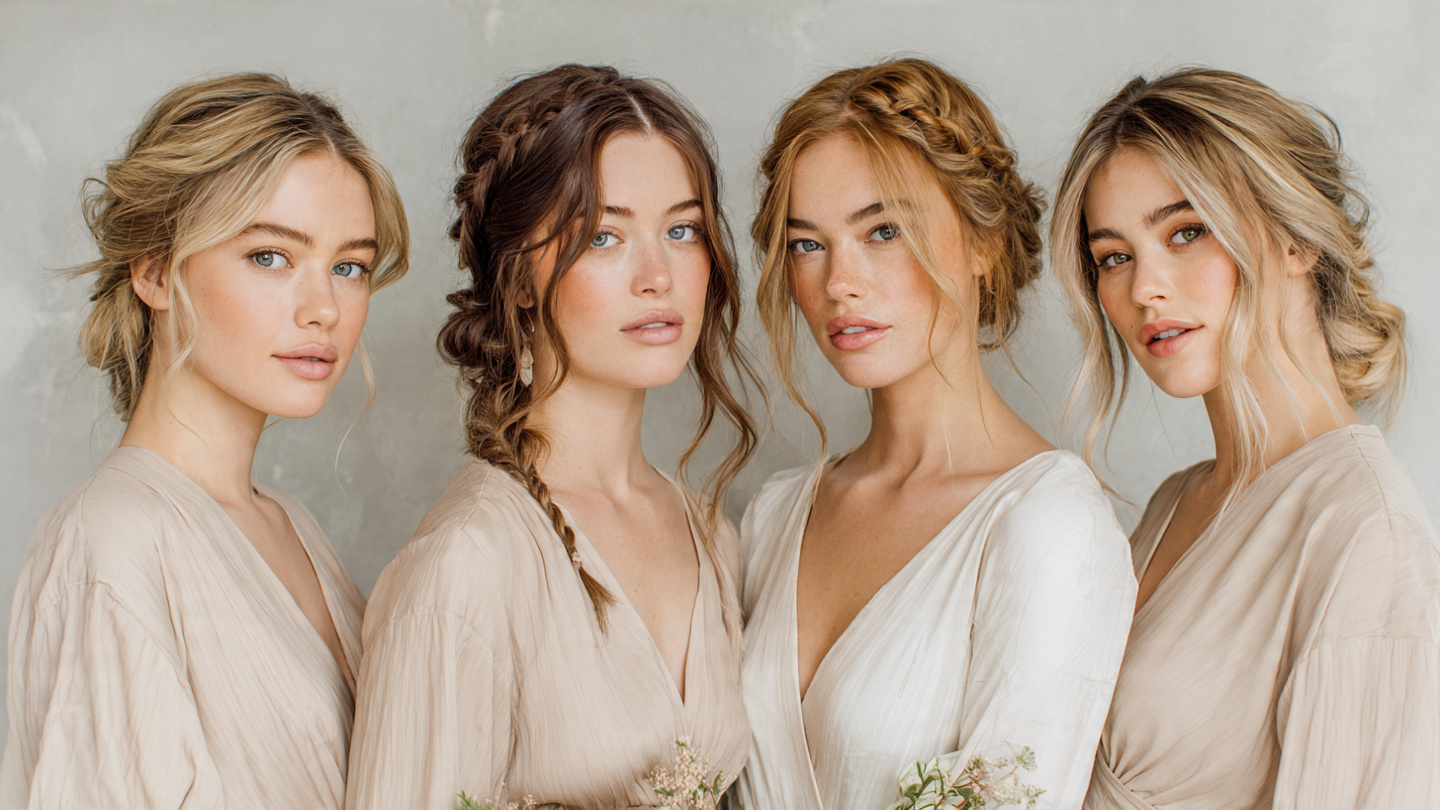
Mornings before school can feel rushed, chaotic, and way too short. Between getting dressed, packing bags, and grabbing breakfast, doing your hair often becomes the last priority. But looking put together doesn’t have to mean spending 30 minutes in front of the mirror. The right hairstyle can take five minutes and still look adorable, polished, and totally photo-ready. If you want styles that are quick, practical, and actually wearable in real life, you’re in the right place. These 12 cute and easy hairstyles for school are simple enough for beginners, work for different hair types, and stay comfortable all day long. Let’s get into it. 1. High Messy Ponytail with Volume A high messy ponytail is a classic for a reason. It takes less than five minutes and instantly lifts your whole look. Start by flipping your head upside down and gathering your hair at the crown. Secure it tightly with a strong elastic. Gently tug at the top section to create volume and avoid a flat appearance. Pull out a few soft strands around your face for a relaxed, effortless vibe. This style works especially well on second-day hair because a little texture adds grip and fullness. If your hair feels too smooth, spray a light texturizing mist before tying it up. For extra style points, wrap a small section of hair around the elastic to hide it. This simple trick makes your ponytail look more polished without extra effort. 2. Classic Low Braided Ponytail The low braided ponytail combines neatness with charm. Begin by brushing your hair back and securing it into a low ponytail at the nape of your neck. Once secured, divide the ponytail into three equal sections and braid all the way down. Tie the end with a small elastic. This keeps hair controlled throughout the day, especially during classes or activities. This hairstyle is ideal for long or medium-length hair. If you want a fuller look, gently pull apart each braid section to create softness and dimension. It’s practical yet stylish, making it perfect for presentations or picture day. You can also add a ribbon or scrunchie to personalize the look. 3. Half-Up Half-Down Twist The half-up half-down twist is perfect when you want your hair out of your face but still flowing naturally. Take two small sections from each side of your head, twist them backward, and secure them together at the back with a clip or elastic. It’s quick and creates a soft, romantic finish. This style works on straight, wavy, or lightly curled hair. If your hair is flat, curl the ends slightly for added texture. It gives a balanced look neat in the front, free in the back. Plus, it transitions easily from school to after-school plans without needing adjustments. 4. Double Dutch Braids Double Dutch braids are both cute and secure. Part your hair down the middle and start braiding each side close to the scalp, crossing sections under instead of over. Continue braiding down to the ends and secure with elastics. This style keeps hair in place all day. It’s especially useful for sports days or long classes because nothing falls into your face. If you want a softer look, gently pull at the braid edges for volume. This hairstyle looks detailed but becomes easy after a little practice. 5. Simple Claw Clip Twist The claw clip twist is one of the fastest hairstyles ever. Gather your hair at the back, twist it upward, and secure it with a claw clip. Let the ends fall naturally over the clip for a relaxed finish. It takes under a minute and still looks stylish. This is ideal for busy mornings when time is limited. Choose a neutral clip for a classic feel or a colorful one for personality. It’s gentle on hair and prevents breakage compared to tight elastics. You can also explore Easy Cute Hairstyle Ideas for Winter 2026. 6. Bubble Ponytail A bubble ponytail adds fun to a regular ponytail. Start with a high or low ponytail. Place additional elastics every few inches down the length. Gently tug each section between elastics to create a rounded “bubble” effect. This look works great on long hair and stands out without being complicated. Use matching elastics for a sleek finish or colorful ones for a playful twist. It’s creative but still simple enough for everyday wear. 7. Side Braid with Loose Hair A side braid is perfect when you want something sweet and relaxed. Sweep your hair over one shoulder and create a loose three-strand braid. Secure the end and gently loosen sections for softness. This style frames the face beautifully and feels comfortable throughout the day. It’s especially flattering with layered hair because small pieces fall naturally, adding texture and movement. 8. Sleek Low Bun The sleek low bun looks elegant yet takes only minutes. Brush your hair back smoothly and tie it into a low ponytail. Twist the ponytail and wrap it into a bun, securing with pins. Use a small amount of smoothing cream to tame flyaways. This hairstyle stays neat during long school hours and works well for formal events or presentations. Discover everyday styles in our Hairstyles & Hair Ideas guide. 9. High Space Buns Space buns are playful and energetic. Part your hair down the middle and create two high ponytails. Twist each ponytail into a bun and secure with elastics or pins. This look is great for themed school days or when you want something different. It keeps hair secure and feels lightweight throughout the day. 10. Straight Hair with Middle Part Sometimes simple is powerful. Straighten your hair and create a clean middle part. Apply a light serum for shine and smoothness. This look feels modern and polished without extra styling. It’s easy to maintain and works for all hair lengths. 11. Loose Waves with Headband Loose waves add texture and bounce. Use a curling wand for soft waves, then brush them gently for a relaxed finish. Add a headband for

12 Doll Eye Makeup Secrets for Wide, Bright Eyes

Big, round, sparkling eyes never go out of style. Doll-inspired eye makeup creates that dreamy, youthful look that feels playful yet polished. Whether you’re getting ready for brunch, a party, or just want your selfies to pop, this style instantly makes your eyes appear larger and more defined. The best part? You don’t need professional skills or a suitcase full of products. With the right techniques, placement, and blending tricks, you can create wide, bright eyes in minutes. Below are 12 detailed secrets that transform ordinary eye makeup into soft, doll-like glam — simple, wearable, and stunning. 1. Start with a Brightening Eye Base A flawless doll eye look always begins with a smooth, bright base. Apply a lightweight eye primer or concealer across your eyelids and slightly under the eyes. This step neutralizes discoloration and creates a blank canvas so shadows appear more vibrant. Choose a shade slightly lighter than your skin tone to subtly lift the eye area. Blending is key here. Use a damp beauty sponge or a soft brush to diffuse edges evenly. Set lightly with translucent powder to prevent creasing. A bright base reflects light, which visually opens the eyes. Think of it as preparing a clean sketchbook before drawing — the clearer the surface, the more beautiful the artwork. 2. Use Soft Brown Transition Shades Transition shades shape the eye without making it look heavy. A soft matte brown slightly deeper than your skin tone should be blended into the crease using windshield wiper motions. This creates gentle depth and makes the eyes look rounder instead of flat. Avoid harsh lines or overly dark colors. The goal is subtle contouring that mimics natural shadow. Blend upward and slightly outward to lift the eye shape. When done correctly, this step creates dimension while maintaining softness — a signature detail of doll-inspired eye makeup. 3. Highlight the Center of the Lid Applying shimmer or satin shadow to the center of the lid instantly creates a rounded illusion. Choose champagne, soft pink, or light gold shades for brightness. Dab the product using your fingertip for maximum pigment payoff. Keep the shimmer focused on the center rather than spreading it across the entire lid. This strategic placement reflects light where the eye naturally curves, enhancing that wide-eyed effect. It’s a simple trick, but it transforms the entire look from flat to dimensional in seconds. 4. Define the Lower Lash Line Softly Instead of skipping the lower lash line, softly define it with a light brown shadow. Use a pencil brush and blend gently along the outer two-thirds of the lower lash area. This balances the upper lid makeup and enhances roundness. Avoid heavy or dark lines underneath. Keep it diffused and subtle to maintain softness. A softly shaded lower lash line frames the eye without dragging it downward. It creates depth while still keeping the look fresh and youthful. Pair this with Simple Eye Makeup Tutorials Step by Step for practice. 5. Add White or Nude Liner to the Waterline A light eyeliner pencil applied to the waterline instantly makes eyes appear larger. Choose white for dramatic brightness or a soft beige for a more natural finish. This trick creates the illusion of expanded eye space. Be gentle when applying, and ensure the pencil is sharpened for precision. This small detail brightens tired eyes and enhances the doll-like appearance without overpowering your makeup. 6. Create a Thin, Soft Wing Instead of bold dramatic wings, keep eyeliner thin and delicate. Start from the center of the lash line and extend slightly outward. A small flick lifts the eye subtly without elongating it too much. Avoid thick liner across the entire lid, as it can reduce visible space. The goal is definition, not heaviness. A thin wing adds polish while maintaining openness. 7. Focus on Vertical Lash Volume Apply mascara by wiggling the wand at the base of the lashes and pulling upward. Concentrate product in the center to emphasize roundness. Vertical lift creates the illusion of bigger eyes. Avoid clumping. Use a lash comb if needed. Layer gradually for fluffy, separated lashes. The focus should be height rather than length. Explore detailed guides in our Makeup Tutorials guide. 8. Add Wispy False Lashes Choose lashes that are longer in the center and slightly shorter on the ends. This style enhances a rounded appearance instead of a cat-eye effect. Trim to fit your eye shape before applying. Use a thin layer of adhesive and press gently along the lash line. Wispy lashes add softness and drama without overpowering the eyes. 9. Highlight Inner Corners A bright inner corner highlight brings instant freshness. Use a light shimmer or pearly shade and apply with a small brush. This draws attention inward and widens the eye space visually. Blend slightly into the lower lash line for seamless brightness. This small touch adds sparkle and makes eyes look awake. 10. Keep Brows Soft and Rounded Avoid sharp, overly arched brows. Instead, shape them softly with a gentle curve. Fill sparse areas lightly using small hair-like strokes. Brush upward with clear or tinted brow gel. Rounded brows frame the eyes without creating harsh angles, supporting the doll-like illusion. 11. Add Subtle Under-Eye Highlight Apply a lightweight concealer slightly lighter than your foundation under the eyes. Blend outward in a soft triangle shape to brighten and lift. Set with a fine powder to prevent creasing. This technique reduces shadows and enhances the wide-eye effect. 12. Finish with a Soft Glow Apply a subtle highlighter on the brow bone and tops of cheeks. This adds dimension and supports the bright eye effect. Keep it soft and blended. A gentle glow ties everything together, creating harmony between the eyes and the rest of the face. FAQ 1. Can beginners achieve doll eye makeup easily? Yes, the techniques are simple and focus on blending and light placement. 2. What eye shapes suit this look best? It works for all shapes, especially those wanting a rounder appearance. 3. Are

12 Black Eye Makeup Ideas for Bold Glam  

Black eye makeup is timeless, dramatic, and undeniably powerful. Whether you’re heading to a party, planning a night out, or simply want to experiment with something daring, black eye looks can completely transform your vibe. The key is knowing how to apply, blend, and balance the intensity so it feels bold but polished. This guide shares 12 stunning black eye makeup ideas designed to inspire creativity while staying wearable. Each look includes practical tips, blending techniques, and styling suggestions so you can recreate it confidently. From smoky glam to sharp graphic lines, there’s something here for every mood and occasion. 1. Classic Smoky Black Eyes A classic smoky eye never disappoints. Start with a matte black shadow on the outer corner and blend inward using a fluffy brush. Use dark brown in the crease to soften the transition. Smudging black liner along the upper and lower lash line adds depth without harshness. Blending is everything here, so take your time and build intensity slowly. Pair this look with soft contour and a muted lip shade to keep focus on the eyes. If you want extra drama, add wispy false lashes. This style works beautifully for evening events, formal gatherings, or photoshoots where strong eye definition stands out effortlessly. 2. Glossy Black Lid Effect Glossy black lids create a runway-inspired statement. Begin with a cream black shadow as your base, blending evenly across the lid. Instead of setting it with powder, apply a clear eye gloss on top for that reflective finish. Keep the crease softly blended to avoid harsh lines and maintain a polished appearance. Balance this intense shine with natural brows and subtle cheek color. Since glossy lids can crease, use a primer underneath for longevity. This look feels modern, edgy, and fashion-forward perfect for creative events or bold social content moments. 3. Winged Black Shadow Drama Winged black shadow combines smokiness with structure. After applying black shadow to the outer lid, extend it outward following the angle of your lower lash line. Use tape as a guide for sharp edges. Blend inward while keeping the wing crisp and lifted. This technique elongates the eyes and adds instant sophistication. Pair it with sculpted brows and soft pink lips for balance. The contrast between sharp edges and blended shadow makes this look versatile enough for parties or glamorous nights out.  4. Black and Gold Glam Blend Black and gold together create a luxurious vibe. Apply matte black on the outer corner and blend inward. Press metallic gold onto the center of the lid for a halo effect. This contrast brightens the eyes while keeping depth intact. Use gold highlights on cheekbones to tie the look together. Keep lips neutral to let the shimmer stand out. This combination is ideal for festive occasions, weddings, or celebratory evenings when you want bold yet elegant glam. 5. Smudged Black Liner Look For a softer take on bold glam, smudge black eyeliner along the upper and lower lash lines. Use a pencil liner and blend with a small brush for a lived-in smoky effect. Add a touch of dark shadow over the liner to set it. Keep the lid mostly neutral so the liner becomes the statement. This look feels effortless and edgy without heavy layering. It’s perfect for casual nights or when you want something quick but impactful. You might also like Red Eye Makeup Inspo for Hot Looks. 6. Matte Black Cut Crease A matte black cut crease delivers high-impact glam. Define your crease with black shadow, then carve the lid using concealer to create contrast. Apply matte black on the outer lid and blend upward carefully. This structured style pairs beautifully with full lashes and sculpted cheeks. Keep lips soft to avoid overpowering the look. Ideal for formal events or bold photoshoots, it highlights precision and confidence. 7. Black Halo Eye Glow Apply black shadow to both inner and outer corners, leaving the center lid bare. Press silver or light shimmer in the center for dimension. Blend edges softly so the transition looks seamless. This technique makes eyes appear rounder and more defined. Add fluttery lashes and subtle blush for harmony. It’s glamorous yet balanced, offering depth without overwhelming the face. 8. Graphic Black Liner Art Graphic liner adds creativity to bold glam. Use liquid liner to draw sharp lines extending beyond the lash line. Keep the lids mostly bare for contrast. Precision is key, so work slowly and steady your hand. Pair with natural base makeup and brushed-up brows. This look feels artistic and expressive. It’s perfect for fashion events or experimenting with modern beauty trends.  9. Black Smoky Lower Lash Focus Instead of heavy upper lids, focus on the lower lash line. Smudge black shadow generously underneath and blend downward for drama. Keep upper lids light to balance intensity. This unexpected placement creates a sultry, high-fashion feel. Add lengthening mascara and subtle highlights on inner corners. It’s bold yet surprisingly wearable for evening settings. 10. Black and Silver Metallic Edge Blend black shadow on the outer corners and apply metallic silver across the lid. The cool contrast enhances eye shape beautifully. Blend carefully to avoid harsh separation between colors. Keep cheeks softly contoured and lips glossy. This look shines under artificial lighting, making it ideal for nighttime events and celebrations. Discover bold makeup in our Makeup Tutorials guide. 11. Soft Blended Black Glam For a wearable bold style, use black shadow lightly and blend thoroughly into brown tones. Keep intensity on outer corners and soften edges toward the brow bone. This creates depth without overpowering the face. Pair with peach blush and subtle lip color. It’s bold yet approachable for dinners or gatherings. 12. Intense Black Glitter Accent Apply matte black shadow first, then press black glitter onto the lid using adhesive. Blend edges softly while keeping sparkle concentrated at the center. Keep skin luminous and lips neutral to let glitter shine. This look is perfect for parties and festive celebrations where dramatic sparkle feels right. FAQ 1.

8 Asian Makeup Ideas for Glowing Skin  

Glowing skin never goes out of style. It’s fresh, effortless, and somehow makes you look well-rested even when you’re not. If you love beauty inspiration that feels achievable and practical, you’re in the right place. This guide breaks down Asian makeup ideas that focus on radiance, hydration, and soft definition without heavy layers or complicated techniques. You’ll find easy ideas, product placement tips, and detailed image prompts to help you visualize each look. Whether you prefer minimal makeup or soft glam, these glowing skin techniques will elevate your routine and help you create a luminous finish that looks natural in photos and real life. 1. Glass Skin Base with Sheer Coverage Glowing makeup always begins with skin preparation. Start with a hydrating toner, followed by a lightweight essence and moisturizer to create a plump surface. Apply a radiant primer only on high points of your face to avoid excess shine. Instead of heavy foundation, use a light cushion or skin tint. Blend gently with a damp sponge for that seamless, second-skin effect that reflects light naturally without appearing oily. Keep concealer minimal and targeted. Apply only under the eyes and around the nose where redness appears. The goal is balance, not full coverage. Set only the center of the face with a small amount of translucent powder, leaving the outer areas dewy. Finish with a liquid highlighter tapped lightly onto cheekbones for a healthy glow that looks like it’s coming from within. 2. Soft Peach Blush for Natural Radiance Peach blush is a secret weapon for glowing skin. It adds warmth and brightness without overpowering your complexion. Choose a cream formula for a more natural finish and apply it slightly higher on the cheeks to lift the face. Blend upward toward the temples for a subtle sculpting effect. This placement mimics a natural flush and enhances facial structure. To amplify the glow, lightly tap leftover blush on the bridge of the nose for a cohesive look. Pair it with a soft coral lip tint to tie everything together. Avoid harsh contour lines; instead, use a soft bronzer to gently define the face. The combination of peach tones and dewy skin creates a youthful, radiant finish perfect for everyday wear. 3. Glossy Lips with Minimal Eyes When the skin is glowing, less is more for the eyes. Keep eyeshadow neutral with soft beige or light brown tones. A thin line of brown eyeliner close to the lash line adds subtle definition without looking dramatic. Curl lashes and apply lengthening mascara for a bright, open look that complements radiant skin. The focus shifts to glossy lips. Choose a hydrating gloss or tinted balm in pink or berry shades. The shine enhances the fresh aesthetic and reflects light beautifully in photos. Because the lips are glossy, keep the rest of the face balanced and light. This combination creates an effortless glow that feels modern and polished without being overwhelming. 4. Subtle Shimmer Eyes for Soft Glam Glow Soft shimmer on the eyelids enhances glowing skin without overpowering the face. Choose champagne, rose gold, or light bronze shades. Apply shimmer to the center of the lid and blend outward for dimension. Avoid heavy glitter; instead, opt for a finely milled shimmer that reflects light subtly. Pair shimmer eyes with radiant foundation and cream highlight on cheekbones. Keep brows natural and softly filled in. This look works beautifully for dinner events or celebrations where you want something elevated yet still fresh. The key is harmony; each element should enhance the glow rather than compete with it. Combine with Beginner Natural Makeup Tutorial for a Soft Glow.  5. Dewy Highlighter Placement Technique Highlighter can transform your glow when placed strategically. Instead of sweeping it everywhere, focus on cheekbones, brow bones, inner corners, and cupid’s bow. Use a liquid or cream formula for a seamless blend. Tap gently with fingertips to melt the product into the skin. Avoid layering powder highlights over heavy foundation. Keep the base lightweight so the glow appears skin-like. If you have textured skin, choose a subtle sheen rather than intense sparkle. A well-placed highlight catches light beautifully and enhances natural features without looking artificial. 6. Gradient Lips with Fresh Skin Finish Gradient lips create a soft, romantic look that pairs perfectly with glowing skin. Apply a deeper tint in the center of the lips and blend outward with a brush or fingertip. Finish with clear gloss for dimension. This technique makes lips look fuller while maintaining a delicate finish. Keep the rest of the face simple with luminous foundation and subtle blush. Avoid heavy contouring. The contrast between fresh skin and softly blended lips creates balance and draws attention without overwhelming your features. 7. Lightweight Contour for Natural Definition Contouring doesn’t have to be dramatic. Use a cream contour slightly darker than your skin tone. Blend carefully under cheekbones and along the jawline. The goal is soft shadow, not harsh lines. When blended properly, it enhances bone structure while maintaining a natural glow. Pair contour with radiant blush and highlight to prevent a flat finish. Avoid over-powdering, which can dull the skin. A subtle sculpt combined with dewy products keeps the complexion looking alive and dimensional. Explore global trends in our Makeup Tutorials guide. 8. Hydrating Setting Spray Finish After completing your makeup, lock it in with a hydrating setting spray. Hold the bottle at arm’s length and mist evenly across the face. This step melts powders into the skin and enhances glow. It also prevents makeup from looking cakey. If you want extra luminosity, gently press the skin with a damp sponge after spraying. This technique blends everything seamlessly and revives dewiness throughout the day. A glowing finish should look hydrated, not shiny. FAQ 1. How can I make my skin look naturally glowing with makeup? Focus on hydration, lightweight foundation, cream products, and strategic highlight placement. 2. Which blush color works best for glowing skin? Peach and soft coral shades add warmth and enhance radiance. 3. Should I use

11 Cute Black Spring Nails Designs  

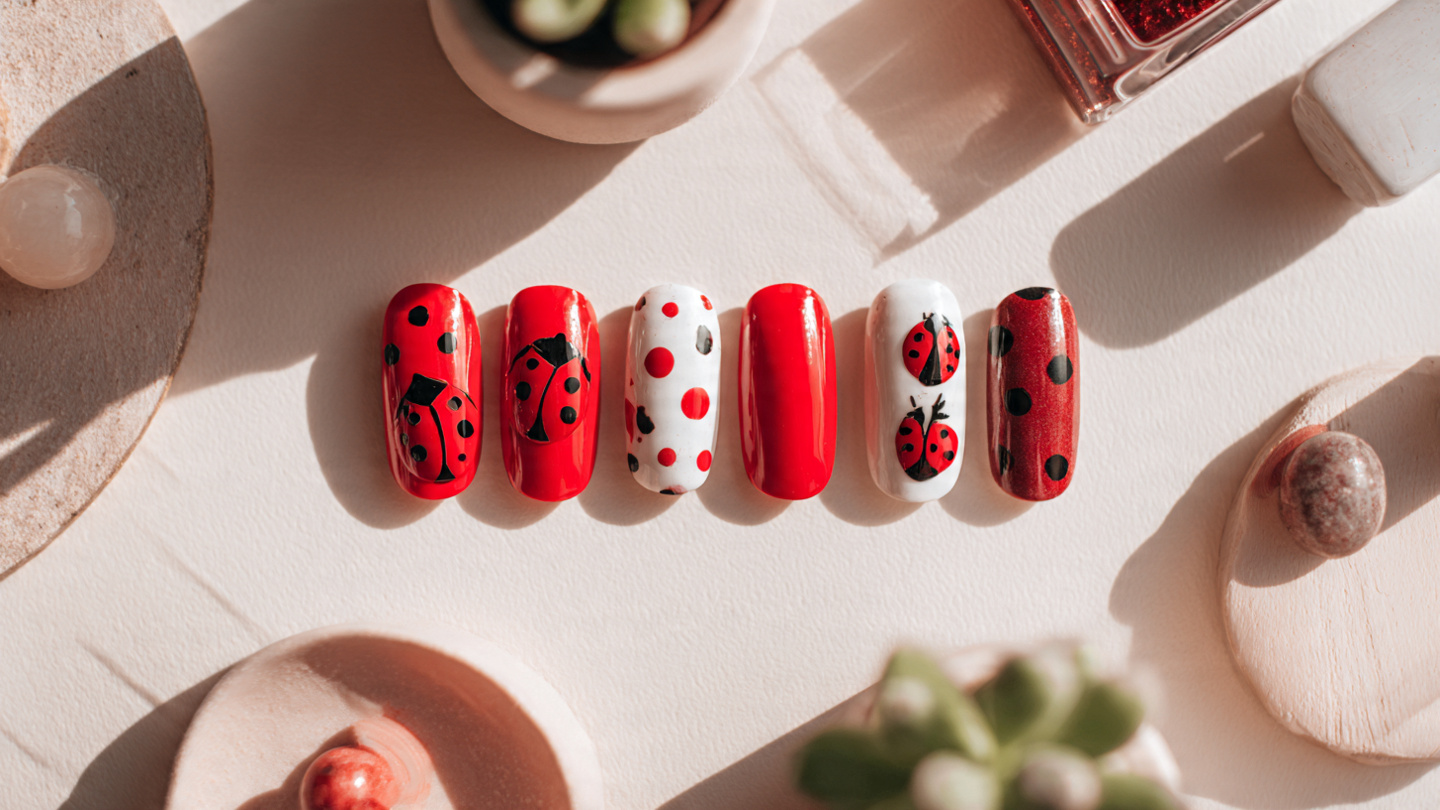
Black nails in spring? Absolutely. While soft florals and pastel shades often take center stage, black polish brings a fresh, modern edge that feels surprisingly light when styled the right way. It’s bold but versatile. Minimal yet expressive. Whether you love delicate accents, glossy finishes, or playful patterns, black can transform your spring manicure into something chic and unforgettable. This guide shares creative, wearable designs that balance dark tones with seasonal softness. Each idea is easy to personalize and works for short or long nails. Ready to upgrade your spring manicure? Let’s dive in. 1. Black French Tips with Floral Accent Black French tips instantly refresh a classic manicure. Instead of traditional white, a thin black line adds contrast while keeping the look clean and refined. Pair it with a soft pink or sheer base to maintain that light spring vibe. Adding tiny hand-painted flowers on one or two accent nails softens the bold edge, making the overall design feel balanced and playful. This style works beautifully on almond or square shapes. Keep the floral detail subtle to avoid overwhelming the look. A glossy top coat enhances the contrast between the black tip and the delicate art. If you want something slightly bolder, try micro glitter inside the flowers. It’s a simple upgrade that keeps the manicure seasonally appropriate yet stylishly modern. 2. Matte Black with Daisy Details Matte black polish creates a velvety finish that feels sophisticated without being flashy. Adding small white daisies instantly brings spring energy to the design. The contrast between matte texture and cheerful floral art makes the manicure look intentional and artistic rather than heavy. For best results, keep the daisies minimal one or two per nail is enough. Short square nails make this design practical for daily wear. Seal the floral art with a matte top coat to keep the finish consistent. This look pairs beautifully with denim jackets and light sweaters, offering a subtle way to embrace seasonal nail trends while staying true to darker tones. 3. Black and Gold Foil Accent Black and gold is a timeless combination that feels elegant and slightly dramatic. A glossy black base paired with scattered gold foil creates depth and dimension. The metallic shimmer catches the light beautifully, making the manicure perfect for both daytime outings and evening events. Apply foil strategically rather than covering the entire nail. Concentrate it near the cuticle or along one side for a modern touch. This design works especially well on coffin or oval shapes. The key is balance: let the black remain dominant while the gold acts as a refined accent. It’s bold but surprisingly wearable during spring. 4. Black Marble Effect Nails Marble nails add texture without extra color. Using thin white lines over a black base creates a stone-like effect that feels sophisticated and artistic. This design is perfect if you prefer abstract styles over florals. The veining should look soft and natural rather than perfectly symmetrical. Use a fine nail art brush for delicate strokes. Blend slightly with a thin brush dipped in clear polish to create realistic depth. Keep the rest of your look simple—minimal rings and neutral outfits complement this manicure beautifully. Marble nails feel fresh in spring because they’re creative without being overly bright. You can also check Black Nails Designs That Look Super Elegant. 5. Black Base with Pastel Swirls Pastel swirls over black polish create a striking yet soft contrast. The dark base makes the pastel colors pop while still maintaining a seasonal lightness. Swirls add movement and creativity, making this design perfect for anyone who loves playful details. Choose two or three pastel shades to avoid clutter. Paint thin curved lines across the nail for a fluid effect. This manicure pairs well with casual spring outfits and adds personality without overpowering your overall look. It’s bold, artistic, and surprisingly versatile for everyday wear. 6. Black Glitter Gradient A glitter gradient softens the intensity of black polish. Start with a solid black base and gently blend fine glitter from the tip downward. The fading sparkle creates dimension while keeping the design subtle and elegant. This look works well for both short and long nails. Use a sponge to lightly dab glitter for a seamless transition. The sparkle reflects light beautifully, making it ideal for outdoor events or special occasions. It’s an easy way to elevate black nails without complicated nail art techniques. 7. Minimal Black Line Art Minimal line art feels modern and lightweight. Instead of painting the entire nail black, use thin abstract black lines over a neutral base. This approach keeps the manicure airy while still incorporating darker tones. Geometric shapes, curved lines, or tiny hearts can add subtle personality. This design suits those who prefer understated styles. Pair with simple jewelry to maintain a clean aesthetic. The beauty lies in simplicity sometimes less really is more when it comes to nail design. 8. Black with Tiny Butterfly Accents Butterflies symbolize transformation and perfectly match spring energy. Painting tiny butterflies over a glossy black base creates eye-catching contrast. Keep the art delicate to maintain balance. This manicure feels playful yet refined. If freehand painting feels challenging, use nail stickers for precision. A glossy top coat enhances the vibrancy of the design. It’s a charming way to blend seasonal symbolism with bold color. Explore all designs in our Nail Designs & Art guide. 9. Black Ombre Fade Ombre nails provide depth without intricate detailing. Blend black polish into gray or soft white for a gradient effect that feels lighter toward the tip. The smooth fade creates elegance while keeping the overall design minimal. Use a makeup sponge to blend shades seamlessly. This look is ideal for those who enjoy subtle transitions rather than bold patterns. Ombre nails feel polished and adaptable, suitable for both casual and formal settings. 10. Black and Silver Chrome Tips Chrome tips add futuristic flair to classic black polish. Applying silver chrome along the tip creates a high-shine contrast that feels modern and edgy.

12 Trendy Skirt Outfits for Summer Days 

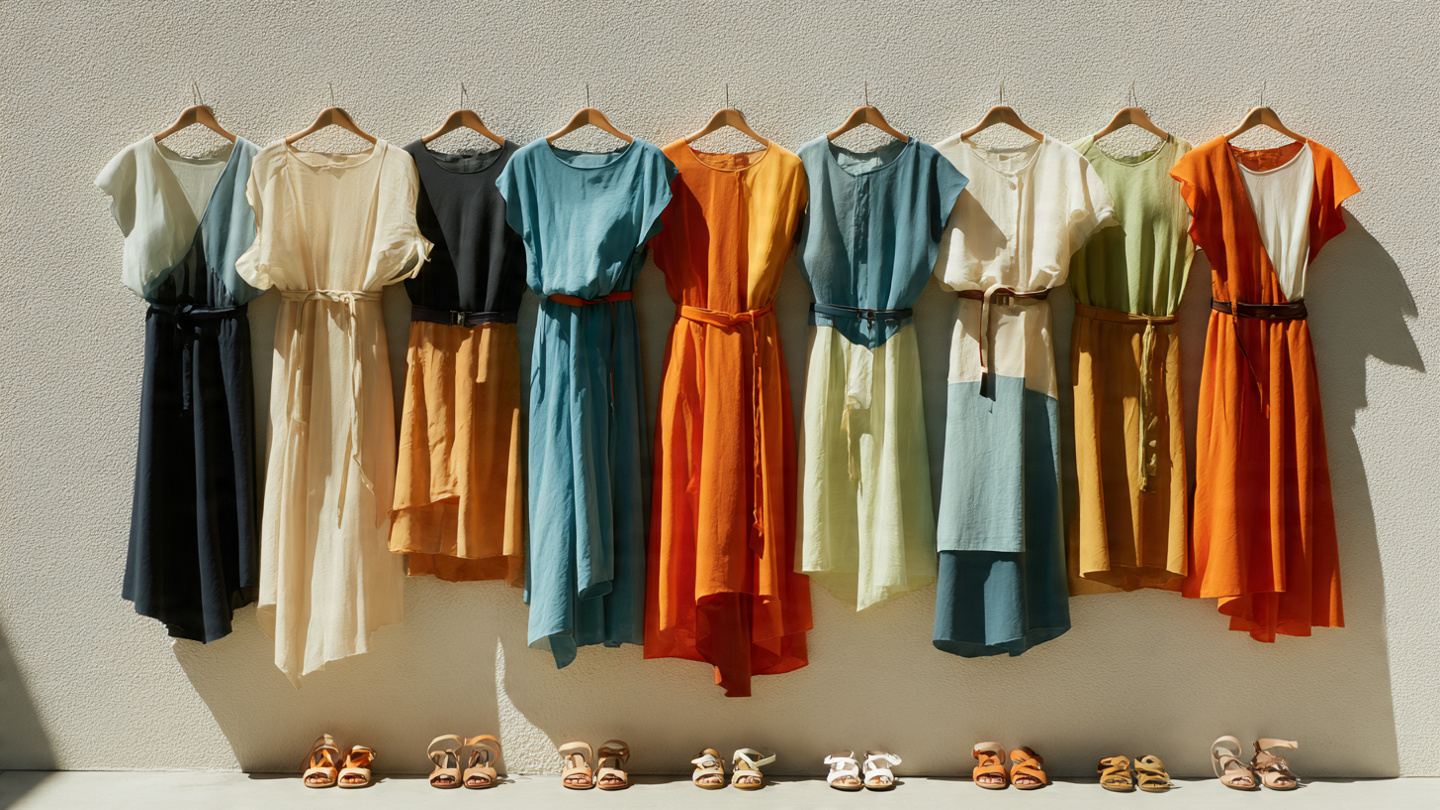
Summer is the perfect excuse to refresh your wardrobe with light fabrics, playful colors, and effortless silhouettes. Skirts are the ultimate warm-weather staple because they’re breathable, versatile, and easy to style. Whether you’re heading to brunch, a beach walk, a city stroll, or a casual dinner, the right skirt outfit makes getting dressed simple and stylish. This guide shares outfit ideas that feel modern yet practical, so you can mix comfort with confidence. Get ready to discover fresh combinations that look amazing in photos and even better in real life. 1. Floral Midi Skirt with Fitted Tank A floral midi skirt paired with a fitted tank creates a balanced silhouette that feels relaxed yet polished. The movement of a lightweight floral skirt adds softness, while a simple tank keeps the look structured and modern. Choose breathable cotton or linen for hot days, and opt for pastel florals or bold blooms depending on your mood. Neutral sandals and a woven bag complete the outfit effortlessly. This look works beautifully for daytime plans like coffee dates or outdoor markets. Add delicate gold jewelry and oversized sunglasses for a refined touch. If evenings turn cooler, throw on a light denim jacket without overpowering the skirt’s charm. The key is contrast flowy bottom, structured top making this outfit flattering on many body types and easy to recreate with pieces already in your closet. 2. Denim Mini Skirt with Oversized Button-Down A denim mini skirt is a timeless summer essential, and pairing it with an oversized button-down shirt instantly elevates the vibe. The structured denim grounds the look, while the loose shirt adds relaxed sophistication. You can half-tuck the shirt for a styled yet effortless appearance. White sneakers or minimal sandals keep the outfit easygoing and comfortable for all-day wear. To personalize the outfit, experiment with striped or pastel button-downs instead of classic white. Rolling up the sleeves and adding layered necklaces creates subtle dimension. This combination transitions smoothly from day to night swap sneakers for heeled sandals and add a sleek clutch. It’s a dependable outfit formula that blends comfort, structure, and modern street style appeal without feeling overdone. Pair with Crochet Top Ideas for Summer for a perfect warm-weather combo. 3. Satin Slip Skirt with Graphic Tee A satin slip skirt adds instant elegance to summer styling, especially when paired with a casual graphic tee. The contrast between silky fabric and relaxed cotton creates visual interest that feels fresh and contemporary. Tuck in the tee slightly to define your waist while keeping the overall look laid-back. Neutral sneakers or strappy sandals keep it grounded. This combination works perfectly for casual dinners or creative events. Choose a graphic tee that reflects your personality band logos, minimalist prints, or vintage designs all work well. Add a small shoulder bag and delicate layered chains to complete the look. The shine of satin catches light beautifully, making it ideal for golden-hour photos and evening strolls. 4. Pleated Skirt with Cropped Blouse Pleated skirts bring graceful movement and texture to summer outfits. Pairing one with a cropped blouse highlights the waist and creates a balanced silhouette. Soft pastel tones feel especially seasonal, while neutrals offer versatility. The gentle flow of pleats makes this outfit ideal for warm days when you want both comfort and elegance. To refine the look, choose block heels or ballet flats. Structured handbags complement the polished feel of pleats. This outfit transitions easily from daytime gatherings to evening celebrations. Keep accessories minimal and let the texture of the skirt shine. The flowing lines add femininity without feeling overly formal, making it suitable for various summer occasions. 5. Linen Wrap Skirt with Ribbed Tank Linen wrap skirts are breathable and flattering, making them a practical choice for hot weather. Pairing one with a ribbed tank keeps the look clean and effortless. Earth tones like beige, olive, or soft terracotta enhance the natural texture of linen. The wrap detail adds subtle structure while allowing comfortable movement. This outfit works beautifully for seaside vacations or relaxed weekend errands. Add simple slide sandals and a woven tote for a cohesive aesthetic. For evenings, layer with a lightweight cardigan. The beauty of linen lies in its slightly imperfect texture—it feels authentic and easy, capturing that carefree summer energy without sacrificing style. 6. A-Line Skirt with Statement Top An A-line skirt flatters almost every shape thanks to its structured flare. Pairing it with a statement top think puff sleeves or bold patterns creates a standout outfit without being complicated. The skirt provides balance while the top draws attention upward, creating a visually appealing proportion. Choose vibrant colors like cobalt or coral for summer flair. Keep footwear simple to avoid overwhelming the look. This outfit is ideal for brunches or daytime events when you want to feel dressed up but still comfortable. Structured silhouettes and bold details make it photo-ready and fashion-forward. Explore more summer-ready fashion in our seasonal outfit collection. 7. Maxi Skirt with Fitted Crop Top A maxi skirt offers drama and elegance while remaining breathable. Pairing it with a fitted crop top keeps proportions balanced and prevents the outfit from feeling heavy. Choose lightweight fabrics that move with the breeze for added dimension. This look is perfect for outdoor gatherings or sunset walks. Add layered necklaces and strappy sandals to enhance the relaxed feel. A monochrome palette creates a sleek finish, while prints add personality. The length of the maxi skirt creates movement that feels cinematic and effortlessly stylish. 8. Pencil Skirt with Sleeveless Blouse A pencil skirt brings structure to summer dressing when styled thoughtfully. Pair it with a sleeveless blouse for breathability while maintaining a refined silhouette. Lightweight fabrics keep the outfit season-appropriate and comfortable. This combination works well for professional settings or polished daytime plans. Neutral tones create versatility, while subtle patterns add interest. Keep accessories minimal and choose comfortable footwear. The streamlined silhouette highlights confidence and creates a sophisticated impression without sacrificing summer ease. 9. Tiered Skirt with Simple Tee Tiered skirts add

12 Pixie Haircuts for Thick Hair Ideas

Thick hair is a gift, but let’s be honest it can feel heavy, bulky, and hard to manage. If you’re thinking about going short, a pixie haircut might be exactly what you need. The right pixie removes excess weight, adds shape, and highlights your features without making your hair look flat or puffy. The best part? Pixie cuts for thick hair are incredibly versatile. From edgy undercuts to soft layered styles, there’s something for every personality and face shape. Below, you’ll find 12 inspiring pixie haircut ideas, each with a detailed image prompt to help you visualize the look clearly before your next salon visit. 1. Layered Classic Pixie A layered classic pixie is perfect if you want something timeless yet practical. Thick hair benefits from carefully placed layers that remove bulk while keeping natural volume. The top remains slightly longer, giving movement and softness, while the sides are gently tapered for a clean finish. This style works beautifully for oval, round, or heart-shaped faces. It’s easy to style with a lightweight texturizing cream. Blow-dry using your fingers to maintain lift without stiffness. The layers prevent the cut from looking boxy, which can sometimes happen with dense hair. It’s simple, flattering, and low maintenance. 2. Textured Pixie with Choppy Ends If your thick hair tends to feel heavy, a textured pixie with choppy ends adds lightness and edge. The choppy layers create separation and movement, making your hair look airy instead of dense. This cut looks especially good with a side fringe that frames the face. Styling is easy just apply a small amount of styling paste and tousle with your fingers. It’s perfect for busy mornings when you want a cool, effortless look. The texture keeps it playful while maintaining structure. 3. Pixie with Undercut Sides An undercut pixie removes bulk instantly, making it ideal for very thick hair. The sides are closely cropped while the top remains longer and voluminous. This contrast creates a bold, modern silhouette. You can style the top sleek, messy, or even slightly curled for variety. It’s a confident look that highlights cheekbones and jawlines beautifully. Maintenance involves regular trims to keep the undercut sharp. If you love structured styles with personality, this option delivers impact without overwhelming your features. 4. Long Pixie with Side Swept Bangs A long pixie offers the freedom of short hair while keeping some length around the face. Side-swept bangs soften the look and add dimension, especially helpful for thick strands that hold shape well. This style works great if you’re transitioning from longer hair. The added length allows versatility; you can tuck one side behind your ear or style it sleek for formal settings. A round brush and blow-dryer help maintain smooth movement. It’s feminine, adaptable, and easy to personalize. 5. Curly Pixie for Thick Hair Thick curly hair shines in a well-shaped pixie. The key is layering that enhances natural curl patterns without creating excessive volume at the sides. Keeping the top slightly longer allows curls to spring freely. Use a curl-enhancing cream to define texture and reduce frizz. Diffuse gently to maintain bounce. This cut celebrates your natural texture while reducing overall weight. It feels fresh, energetic, and incredibly flattering when shaped correctly. You may also like Wedge Haircuts for Women Over 50 That Look Modern for more volume-friendly styles. 6. Sleek Tapered Pixie A sleek tapered pixie is refined and polished. The back and sides gradually taper while the top remains smooth and controlled. Thick hair holds this shape beautifully, creating a clean outline. Flat iron the top lightly for a glossy finish and apply shine serum sparingly. This style works well in professional environments where a neat appearance is essential. It’s minimal yet powerful, offering structure without excessive styling effort. 7. Asymmetrical Pixie Cut An asymmetrical pixie adds interest through uneven lengths. One side stays longer while the other is trimmed shorter, creating a striking shape. Thick hair supports this contrast effortlessly. The longer section can be styled straight, wavy, or tucked back. It’s a creative option for those wanting something less traditional. Despite its edgy appearance, it’s surprisingly versatile and easy to maintain with regular trims. 8. Feathered Pixie Style Feathered layers reduce heaviness while keeping softness. This pixie variation focuses on light, wispy ends that frame the face gently. Thick hair benefits from thinning techniques that create flow. Blow-dry with a small round brush to enhance feathered movement. The result is soft and touchable, ideal for everyday elegance. It’s subtle yet effective in transforming bulky hair into something light and manageable. 9. Pixie with Micro Bangs Micro bangs add drama to a pixie cut. Combined with thick hair, they create a strong, defined shape. The short fringe draws attention to the eyes and brows. This style requires precision cutting, so choose an experienced stylist. Keep the rest of the cut structured to balance the bold bangs. It’s striking and fashion-forward while still practical for daily wear. Explore haircut transformations in our Hairstyles & Hair Ideas guide for every face shape and texture. 10. Voluminous Crown Pixie Adding volume at the crown prevents thick hair from looking flat after shortening it. Layers are concentrated at the top to create height and shape. Use a volumizing mousse and blow-dry upward for lift. This style flatters round faces by elongating the silhouette. It feels lively and dynamic without being overwhelming. 11. Messy Tousled Pixie A messy pixie embraces natural texture and imperfection. Thick hair provides the perfect base for this slightly undone style. Layers prevent bulk while allowing movement. Scrunch in lightweight styling cream and let it air-dry for a relaxed look. It’s ideal for casual settings and requires minimal effort. The result feels modern and carefree. 12. Pixie Bob Hybrid A pixie bob hybrid combines short layers with slightly longer lengths at the back and sides. It offers structure while maintaining versatility. Thick hair supports the shape beautifully. You can style it sleek or add subtle waves. It’s perfect if you’re unsure about

12 Versatile Spring Office Outfits 2026

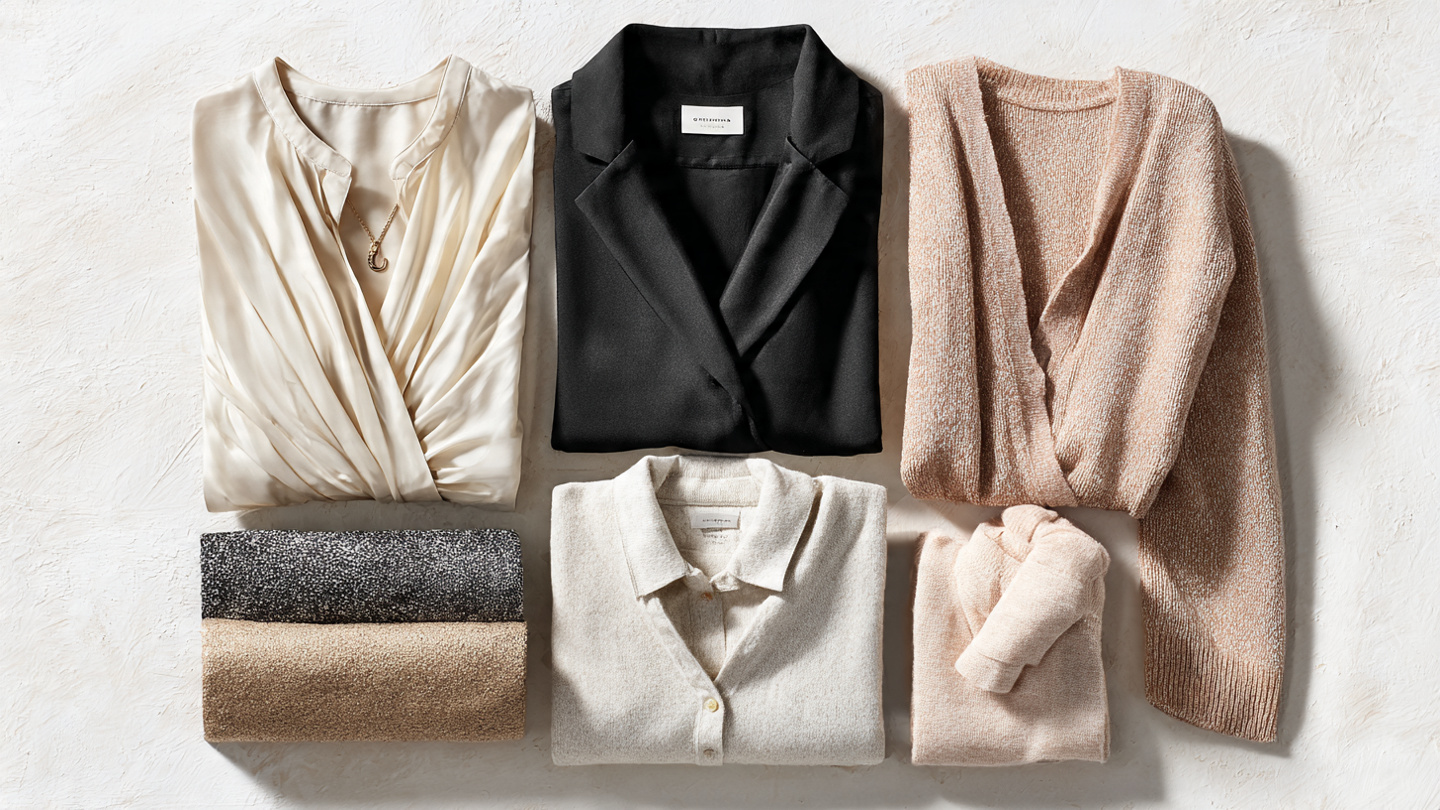
Spring 2026 is all about balance, polished but relaxed, structured yet breathable. Getting dressed for the office during spring can feel tricky. Mornings are chilly, afternoons warm up, and suddenly your outfit feels either too heavy or too light. The key? Versatile pieces that layer well, mix easily, and still look refined from 9 AM meetings to after-work plans. If you’re refreshing your wardrobe, these outfit ideas will give you stylish direction without overcomplicating things. Think tailored trousers, lightweight blazers, smart dresses, and elevated basics that work hard for you. Each look below includes a detailed image prompt to help visualize the aesthetic clearly. 1. Tailored Blazer with Wide-Leg Trousers A tailored blazer paired with wide-leg trousers is the definition of effortless polish. Choose a soft pastel like sage, powder blue, or blush to embrace spring without sacrificing professionalism. The wide-leg silhouette adds movement and comfort, while the structured blazer keeps everything sharp. This combination works beautifully for presentations, client meetings, or everyday desk work. To keep the outfit versatile, stick to neutral footwear such as pointed flats or block heels. Add a simple blouse in ivory or soft cream for a clean contrast. You can remove the blazer midday if the temperature rises and still look refined. This outfit easily transitions from formal settings to relaxed office environments. 2. Midi Shirt Dress with Belted Waist A midi shirt dress is a spring staple that saves time and effort. It’s one piece, yet it looks thoughtfully styled. Choose breathable fabrics like cotton or linen blends in soft florals or subtle stripes. A belt at the waist defines your silhouette and adds structure. Pair it with loafers or low heels for a balanced look. On cooler mornings, layer with a cropped cardigan or light trench. The beauty of this outfit lies in its simplicity. It’s comfortable enough for busy days but polished enough for meetings, making it one of the easiest office-ready choices for spring 2026. You may also like Office Outfit Styles for a Smart Professional Look. 3. High-Waisted Trousers with Silk Blouse High-waisted trousers instantly elevate your outfit. When paired with a silky blouse, the result feels refined yet feminine. Choose soft shades like champagne, pale lilac, or muted coral to reflect the season’s energy without overwhelming your look. Tuck the blouse neatly and add a slim belt for definition. This outfit works beautifully for corporate offices or semi-formal settings. Keep accessories minimal delicate earrings and a structured handbag are enough. The flowing fabric of the blouse contrasts nicely with tailored trousers, creating balance and movement throughout the day. 4. Cropped Blazer with Pleated Skirt A cropped blazer modernizes traditional office wear. Pair it with a pleated midi skirt for a graceful, feminine touch. Soft colors like dusty rose or light gray feel fresh and appropriate for spring. This look offers versatility because you can mix and match both pieces separately. The skirt flows beautifully as you walk, adding subtle elegance. Choose closed-toe pumps or sleek flats for comfort. It’s ideal for creative workplaces or days when you want something polished but not overly structured. 5. Monochrome Neutral Set Monochrome dressing instantly creates a chic impression. A matching neutral set think beige, taupe, or soft gray feels cohesive and modern. It simplifies styling because everything already coordinates. Add texture through fabric choices like lightweight wool or crepe. Break up the look with a crisp white top underneath. This outfit works for busy mornings when you want something quick yet impactful. It’s timeless, versatile, and easy to refresh with different accessories. 6. Lightweight Knit Top with Midi Skirt A lightweight knit top paired with a midi skirt creates balance between comfort and structure. Choose breathable knits in soft spring tones like lavender or pale mint. The skirt can be pleated or A-line for movement. This combination is ideal for transitional weather. Add a thin belt or statement watch for subtle detail. It’s perfect for collaborative workdays or casual office settings while still looking intentional and refined. Discover workwear inspiration in our seasonal outfits collection. 7. Structured Vest with Tailored Pants A structured vest layered over a crisp shirt adds sharpness to your spring wardrobe. It feels modern yet professional. Pair with slim or straight-leg tailored pants for a sleek silhouette. This look works well when you want something different from the usual blazer. Keep colors neutral for versatility. Add pointed heels to elongate your frame. It’s a confident outfit choice that stands out subtly without being bold. 8. Soft Pastel Suit A pastel suit captures the spirit of spring while remaining office-appropriate. Shades like soft blue, blush, or sage feel fresh but not overpowering. Tailoring is key to maintain professionalism. Pair with neutral heels and minimal jewelry. You can wear the blazer and trousers separately for multiple outfit combinations. This makes the investment worthwhile and practical for the season ahead. 9. Classic Trench Over Workwear A classic trench coat is essential for unpredictable spring weather. Layer it over tailored trousers and a blouse for a clean, timeless look. Choose a mid-length design for versatility. The trench adds sophistication instantly. Keep accessories simple to let the coat shine. This outfit transitions seamlessly from commute to office without compromising style. 10. Smart Casual Blouse with Ankle Pants Ankle-length pants paired with a smart blouse create a balanced silhouette. Subtle prints or soft patterns add personality without overpowering the outfit. This look is ideal for business casual environments. Add loafers or block heels depending on comfort. The cropped length highlights footwear and keeps the outfit light and spring-ready. 11. Wrap Dress with Structured Handbag A wrap dress flatters most body types and feels effortlessly elegant. Choose solid shades like forest green or dusty rose for sophistication. The wrap detail adds shape while remaining comfortable for long days. Pair with a structured handbag to keep the look professional. It’s a reliable go-to when you need something quick but impactful. 12. Button-Down Shirt with Tailored Skirt A classic button-down paired with a tailored skirt

14 Coral Nail Designs for Cute Glam Vibes

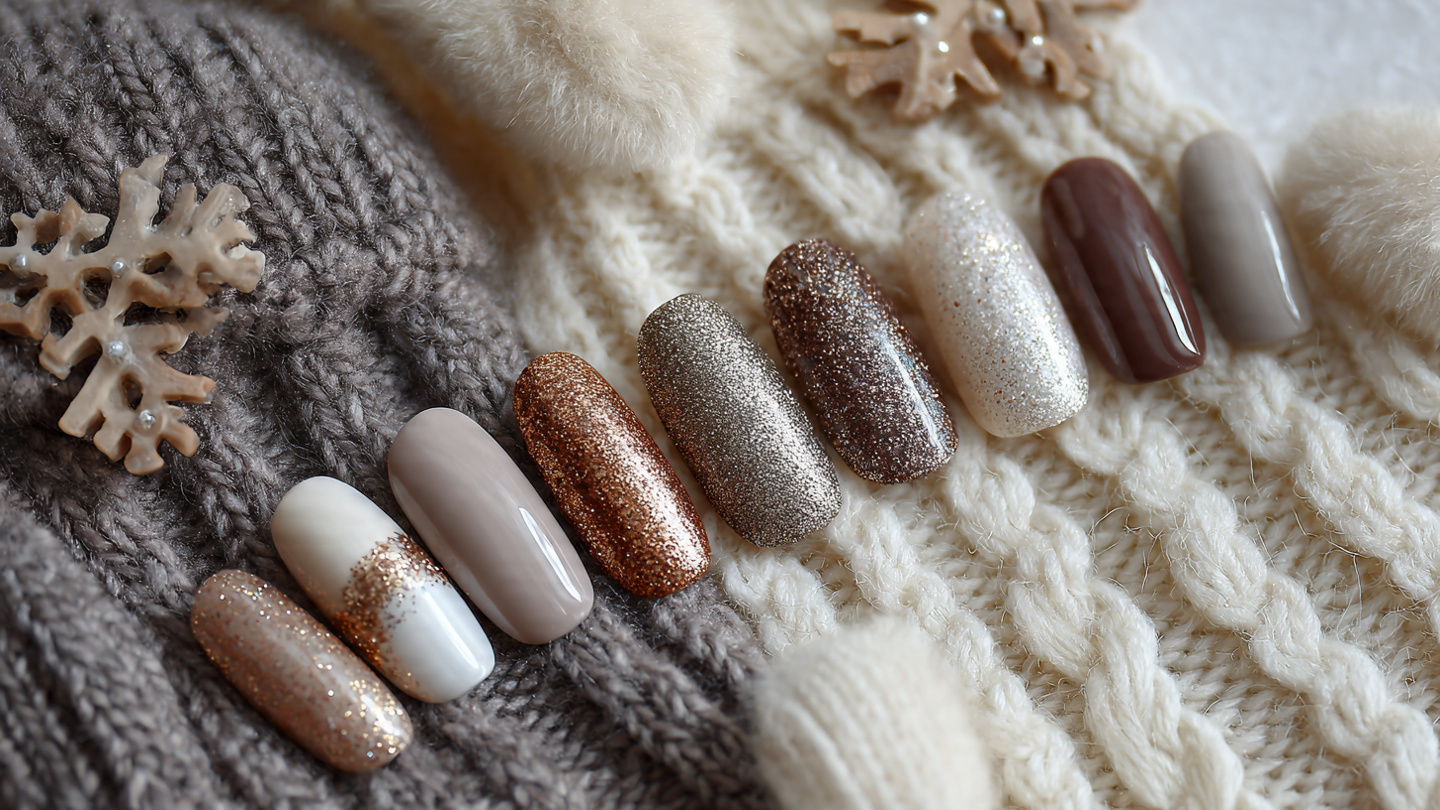
Coral nails have that rare magic: they feel soft and bold at the same time. Somewhere between pink and orange, coral instantly brightens your hands and adds warmth to any outfit. Whether you love glossy finishes, subtle shimmer, or playful nail art, coral works across seasons. It’s fresh in summer, cozy in fall, and surprisingly elegant in winter. If you’re looking for inspiration that feels stylish yet wearable, these coral nail ideas will spark your next manicure. Each design below includes a detailed image prompt so you can recreate or visualize the look perfectly. Let’s dive into these cute glam vibes. 1. Glossy Classic Coral A glossy classic coral manicure is timeless and effortlessly chic. This look is perfect if you love something simple but eye-catching. The shine gives your nails a healthy, polished glow, while the coral shade adds warmth to your overall appearance. It works beautifully on short oval or almond-shaped nails, making it practical for everyday wear. Pair this style with gold jewelry or neutral outfits to let the color stand out. A high-gloss top coat is key here. Make sure your cuticles are neat because minimal designs highlight every detail. This is the kind of manicure that looks put-together without trying too hard. 2. Coral French Tips with a Twist Coral French tips bring a playful update to the traditional French manicure. Instead of white tips, a vibrant coral edge adds personality while keeping things refined. This style feels fresh and modern, especially on almond or coffin shapes. You can keep the base sheer or slightly pink for a soft contrast. The result is delicate but noticeable. It’s ideal if you want something subtle for work yet trendy enough for weekends. Add a thin gold line between the base and tip for extra glam without overwhelming the design. 3. Matte Coral Elegance Matte coral nails feel sophisticated and slightly edgy. Removing the shine transforms the color into something softer and more refined. The velvety finish makes the shade appear richer and more muted, which works beautifully for cooler months. This design pairs well with square or coffin-shaped nails. You can keep it solid or add a glossy accent nail for contrast. Matte top coats require careful application, so ensure the base color is smooth before sealing it. The result is understated glam with a modern twist. 4. Coral and Gold Foil Accent Coral and gold are a match made in beauty heaven. Adding gold foil flakes to one or two accent nails creates a luxurious effect without making the design too busy. The metallic shine contrasts beautifully with the warm coral tone. Keep the foil placement random for an organic feel. This style works great for special occasions or events where you want your nails to stand out. Seal everything with a glossy top coat to enhance the sparkle and prevent lifting. 5. Coral Ombre Fade An ombre coral fade gives your manicure depth and dimension. Blending coral into a lighter peach or pink creates a seamless gradient that feels soft and romantic. This look shines on longer nail shapes like coffin or almond. The key is smooth blending. A sponge technique or professional airbrush effect can help achieve that flawless transition. This design is perfect if you want something dreamy yet glamorous, especially for vacations or celebrations. 6. Coral with White Floral Art Coral nails with white floral art feel sweet and feminine. Small hand-painted flowers add charm without overpowering the base color. This design works well on shorter nails and suits spring or summer perfectly. Keep the flowers minimal, perhaps on two accent nails. Adding tiny gold dots in the center of each flower enhances the look. It’s playful yet elegant, giving you a fresh manicure that feels light and cheerful. Pair these vibrant looks with Pink Spring Nails Aesthetic Ideas for a fresh seasonal vibe. 7. Glitter Coral Glam If you love sparkle, glitter coral nails are your go-to. A glitter gradient starting at the tips creates a glamorous, party-ready effect. Choose fine gold or rose gold glitter for a cohesive look. This design works best on longer nails to showcase the fade. Make sure to layer glitter gradually for a smooth transition. It’s bold but still wearable, especially for evenings or festive events. 8. Coral Marble Design Coral marble nails feel artistic and luxurious. Swirls of white blended into coral mimic natural stone patterns, creating depth and texture. Adding thin gold lines enhances the marble effect. This style is ideal for statement nails. You can feature marble on two nails and keep the others solid coral. The result is balanced and visually interesting without being overwhelming. 9. Coral Chrome Shine Coral chrome nails are sleek and futuristic. The reflective finish intensifies the color, making it appear almost metallic. It’s a bold choice that instantly elevates your manicure. This look pairs beautifully with minimalist outfits since the nails themselves make a statement. Apply chrome powder over a coral base and seal with a no-wipe top coat for maximum shine. 10. Coral and Rhinestone Accent Adding rhinestones to coral nails creates subtle glam. Place tiny stones near the cuticle for a classy detail rather than covering the entire nail. It keeps the look refined yet eye-catching. Balance is important here. One or two embellished nails are enough. This design works beautifully for events, weddings, or parties where a hint of sparkle feels just right. 11. Coral Swirl Art Swirl nail art adds movement and personality. Thin white or lighter coral swirls over a coral base create a trendy yet soft design. It’s playful but still chic. Use a fine nail art brush for precise lines. Keep the swirls minimal to avoid overcrowding. This design suits casual days while still looking thoughtfully styled. Discover more colorful styles in our Nail Designs & Art guide. 12. Coral and Nude Blend Alternating coral with a soft beige creates contrast while maintaining harmony. The neutral shade tones down the brightness, making the overall manicure balanced and versatile.

11 Simple Steps to Get Your Life Together  

Ever feel like your days are running you instead of the other way around? One minute you’re motivated, the next you’re overwhelmed by clutter, unfinished tasks, and mental noise. Getting your life together doesn’t mean becoming perfect overnight. It means building small systems that support your goals, your peace, and your confidence. Think of it as clearing fog from a windshield so you can finally see where you’re going. If you’re working on improving your lifestyle, explore our full Glow Up & Self Care guide for more ideas. This guide breaks everything into eleven realistic steps you can actually follow. Each one is practical, simple, and designed to help you feel more organized, focused, and calm. You don’t need a dramatic life reset. You just need a better starting point. 1. Declutter Your Physical Space First Your environment influences your mindset more than you realize. When your room is messy, your thoughts often feel messy too. Start small. Clean one drawer. Clear your desk. Donate clothes you haven’t worn in a year. Physical clutter silently drains mental energy, and removing it creates instant clarity. Focus on visible surfaces first because quick wins build momentum. Use baskets, drawer dividers, and labeled containers to maintain order. Once your space feels lighter, daily tasks seem less overwhelming. A clean room won’t solve everything, but it creates a calm foundation to build better habits. 2. Create a Simple Morning Routine Mornings set the tone for your entire day. Instead of grabbing your phone immediately, design a short routine that centers you. It could include stretching, journaling for five minutes, or reviewing your top three priorities. Keep it realistic so it’s sustainable. A consistent morning rhythm reduces decision fatigue. When you start with intention instead of chaos, you feel more in control. Even small rituals like making your bed or drinking water right away signal to your brain that you’re showing up for yourself. That confidence compounds over time. 3. Write Down Clear, Achievable Goals Vague goals create vague results. Instead of saying, “I want to be healthier,” write, “I will walk 20 minutes after work three times a week.” Clear goals turn ideas into action steps. Keep them measurable and realistic. Break large goals into smaller milestones. That way, progress feels attainable rather than intimidating. Tracking achievements builds momentum and keeps motivation alive. When you see proof of consistency, it reinforces your belief in your own ability to improve. 4. Build a Weekly Reset Habit Choose one day each week to reset your space and schedule. Wash laundry, review your calendar, prepare simple meals, and tidy your living area. This habit prevents small messes from turning into overwhelming chaos. A weekly reset gives you structure. It’s like pressing refresh before Monday arrives. Knowing you have a system in place reduces anxiety and keeps you proactive rather than reactive. Over time, this routine becomes your anchor during busy seasons. 5. Manage Your Time with a Simple Planner Time management isn’t about filling every hour. It’s about assigning intention to your day. Use a planner to schedule priorities, not just appointments. Highlight your most important tasks and leave space for flexibility. Avoid overloading your schedule. A realistic plan beats an ambitious one you can’t maintain. When you visually map your week, you reduce last-minute stress. Seeing your responsibilities clearly makes them easier to handle. Build daily wellness habits for consistency. 6. Improve Your Financial Awareness Money stress often contributes to feeling out of control. Start by tracking where your money goes each month. You don’t need complicated spreadsheets. A simple list of income and expenses is enough. Once you understand your spending habits, create a basic budget. Set small savings goals to build confidence. Financial clarity reduces uncertainty and empowers better decisions. Even small adjustments can create long-term stability. 7. Prioritize Physical Health Daily Your body fuels everything you do. Prioritize sleep, hydration, and movement. You don’t need intense workouts. A brisk walk or short home workout makes a difference. Balanced meals and proper rest improve focus and mood. When you feel physically strong, you naturally handle stress better. Treat health as a daily investment rather than an occasional effort. 8. Limit Digital Distractions Constant notifications fragment your attention. Set boundaries with your devices. Turn off nonessential alerts and designate specific times for checking social media. Creating tech-free windows helps you focus deeply. It also improves sleep and mental clarity. Protecting your attention is one of the most powerful ways to regain control over your schedule. 9. Surround Yourself with Positive Influence Energy is contagious. Spend time with people who encourage growth and accountability. Distance yourself from negativity when possible. If in-person support feels limited, listen to podcasts or read books that inspire productivity and personal development. Positive input shifts perspective and fuels action. Follow easy steps to change your life for good. 10. Practice Daily Reflection Reflection strengthens awareness. Spend five minutes each night reviewing what went well and what needs adjustment. This small habit builds mindfulness. Writing your thoughts down clarifies patterns. It helps you recognize progress and adjust strategies before problems grow. Growth begins with awareness. 11. Take Consistent Imperfect Action Waiting for perfect timing delays progress. Start before you feel fully ready. Small actions repeated daily create real transformation. Consistency matters more than intensity. Even when motivation dips, discipline keeps you moving forward. Imperfect effort still counts. Progress builds confidence, and confidence builds momentum. Quick Action Checklist FAQ 1. How long does it take to get your life together? There’s no fixed timeline. Small consistent habits over a few months create noticeable change. 2. What if I feel overwhelmed starting? Start with one step only. Momentum grows from small wins. 3. Do I need expensive tools? No. A notebook and simple storage solutions are enough. 4. How do I stay motivated? Track progress and celebrate small achievements regularly. 5. Can routines really make that much difference? Yes. Structure reduces stress and improves focus dramatically. Conclusion Getting your life together isn’t about